There are nice little tag reader devices available from ‘innovations’ as the ID-12LA. It works with the 125kHz cards or tags, does not need an external antenna and can work directly with Raspberry Pi. I recently got one on my desk and connected it to scratch.
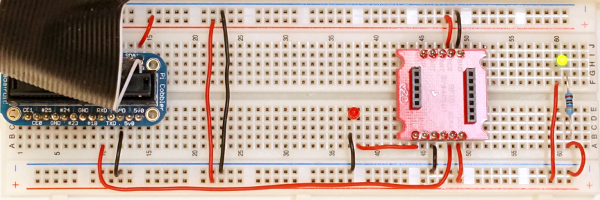
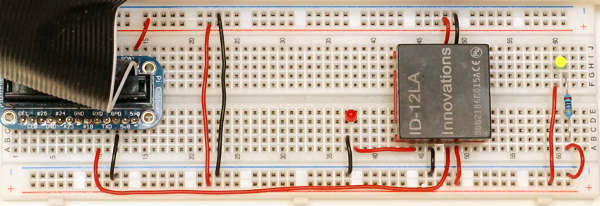
For the setup, there is the possibility to connect it directly to Raspberry Pi serial port, or to buy an usb-adapter. I have choosen the simple way, but as the pin spacing is 2mm there is a breakout board needed to match a breadboard. I used some 2mm spaced sockets on the adapters and have the module pluggable.
The two images show the breakout board without the modue and with the module. The yellow LED at the right is a ‘always on light’ used as a power indicator. Quite useful to see if a breadboard is connected.
For the connection to scratch a special adapter is needed for scratchClient. The adapter.serialAdapter.RFID_Reader_Adapter opens the serial port and extracts the Tag-Numbers from the byte stream. When data are available, these are sent to scratch. Then a broadcast event is published ‘rfid_available’. A sample config file is provided config/config_ID12LA.xml.
ScratchClient start is performed by
sudo python src/scratchClient.py -c config/config_ID12LA.xml
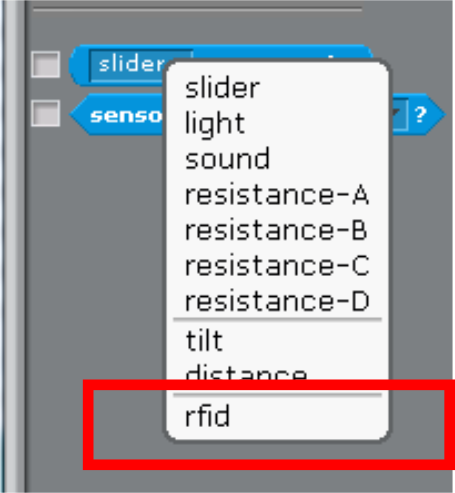
Start scratch 1.4, open ‘remote sensor connections’. When a tag or card is near the reader, then scratch should receive a variable ‘rfid’ containing a 10 bytes hex number.
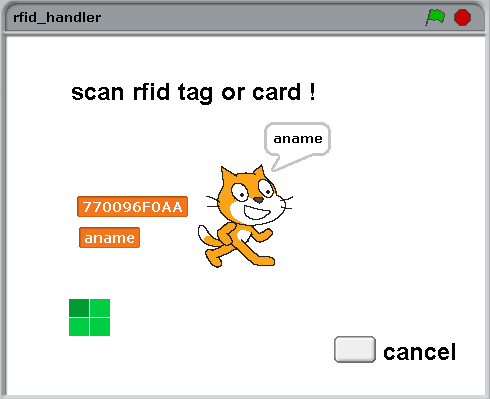
A sample program can record tags and associated names in an internal ‘database’, build from two lists. One list is for names, the other for rfid.
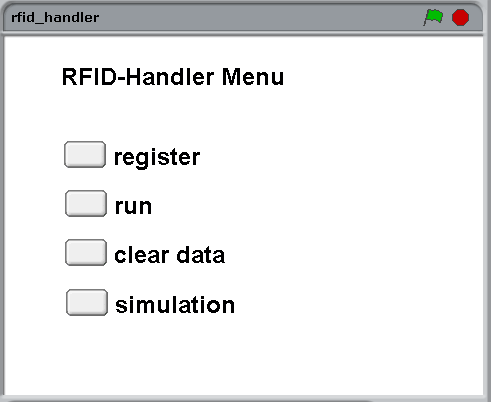
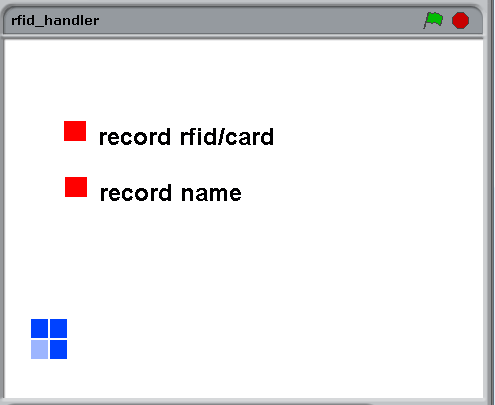
select ‘register’ to read in tags and names (from keyboard).
In ‘run’-screen, tags scanned are checked against the available rfid in rfids-list. When match exist, the cat tells the name found.
The green/blue boxes are an indicator for read events. For each event, it should turn clockwise.
The ‘clear data’-Button clears internal data.
And for all the impatient people there is a simulation mode which populates the database with some dummy values. In run mode, the simulation displays a ‘random’-button which simulates input.
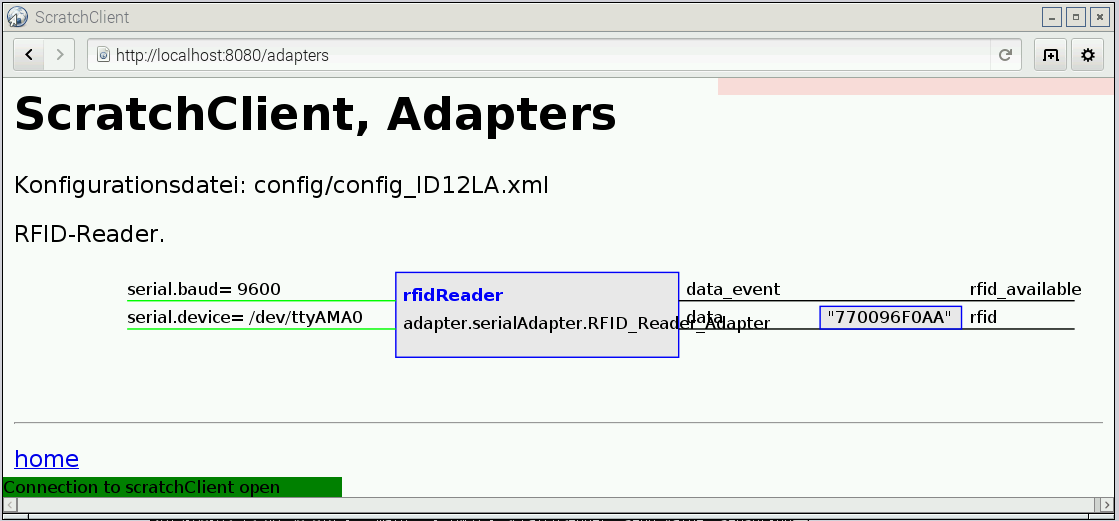
scratchClient can also be used to provide input to scratch. Open http://localhost:8080 and navigate to ‘adapters’.
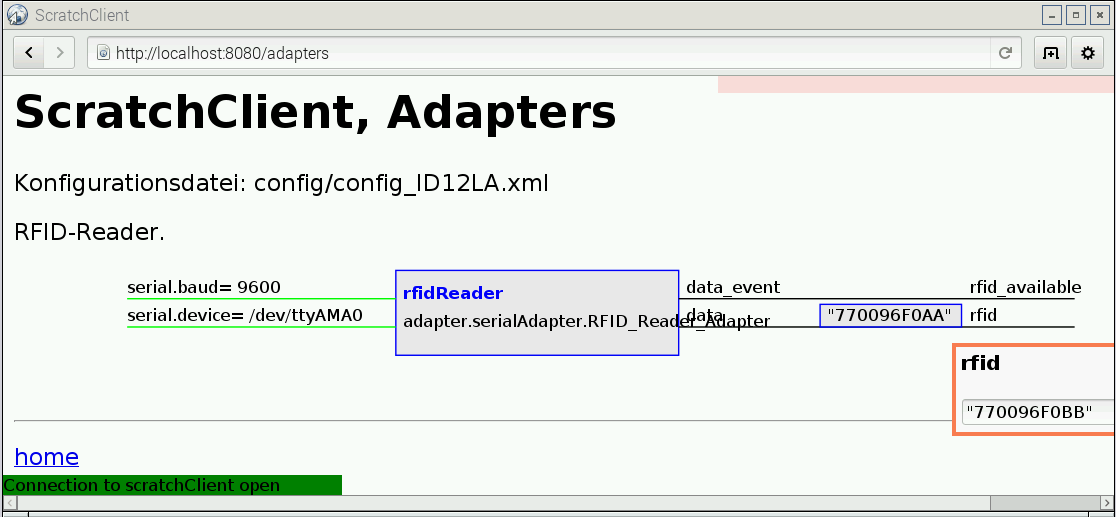
on the right hand side, there is lat value for rfid shown. The Quotes are mandatory here, as scratch needs to interpret values as strings. Click into the text field, you get an entry popup.
Confirm the entry by ‘enter’. Then click on the rfid_available- string and a red blink rectangle confirms the event is sent to scratch.
The formatting of the class name in the adapter box is not perfect, will change this if there is some spare time.
One feature in the scratch code is how the simulation data insertion is solved. It is not possible to overwrite sensor values. So when sensor values arrive, the data are copied to a global variable and a new broadcast is issued.
In the stage scripts, the input from the sensor is copied to a globale variable.
All code processing rfid data is based on ‘rfidValue’ and ‘rfid_for_processing’.
In the rButton-script, this global variable and event is produced.
Downloads
