Monthly Archives: March 2016

LEGO powerfunctions control with scratch 1.4

LEGO has a nice set of controls named ‘powerfunctions’. The main device is a IR-receiver which can control motors, LED with a variety of functions. ON,OFF, PWM are available.

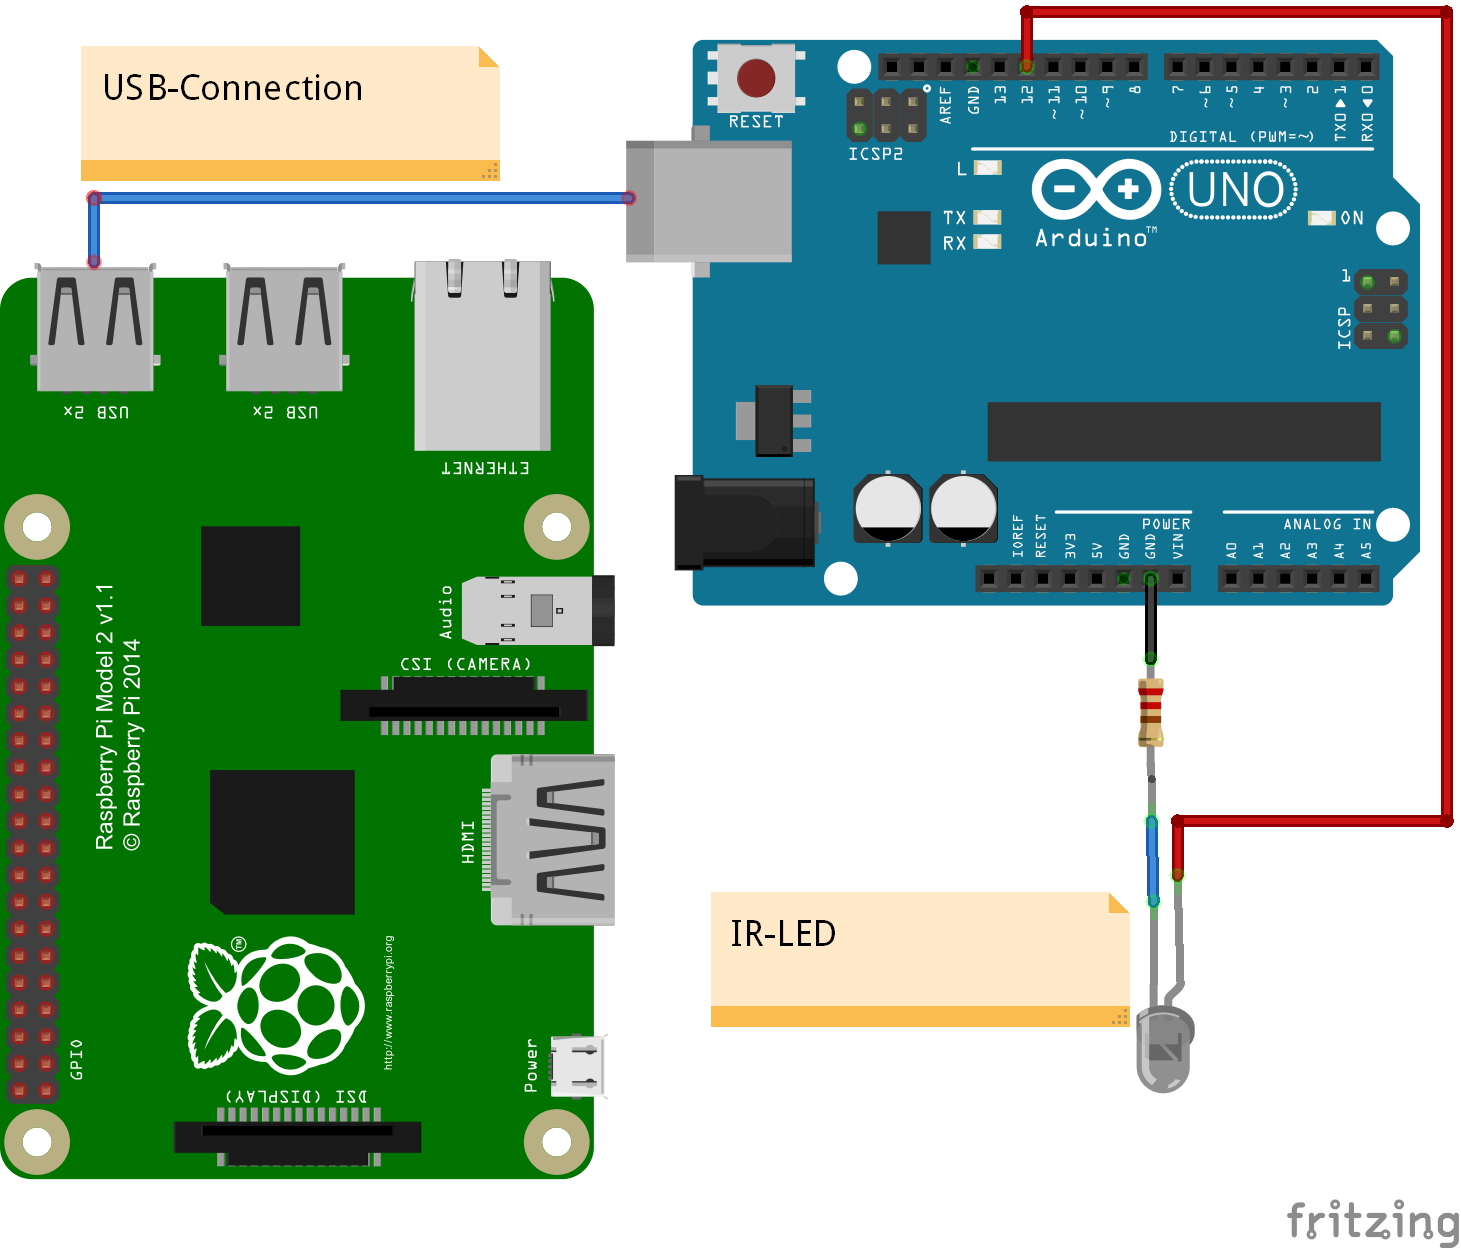
To connect this to scratch I use an arduino to control the IR-LED. Arduino is connected by USB to raspberry pi.

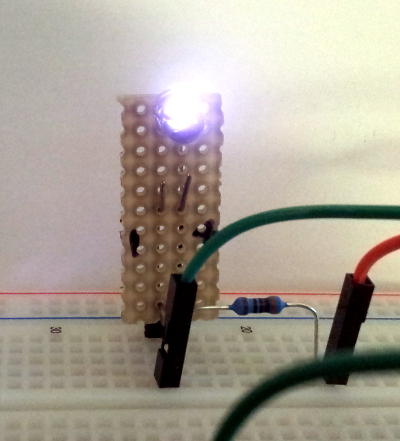
The LED is connected to the arduino UNO on a breadboard. I had one from an earlier experiment already mounted to a small board. When arduino outputs are used, current for the LED is limited to 20mA. With an external transistor, current and thus the range can be increased. With my setup range was prox one to two meter.

arduinoUNO_Powerfunctions_Steckplatine_r2016-03-27

The setup shown uses an arduino UNO. It is also possible to use an arduino NANO instead. Other arduino boards like mega,zero due should be possible, but not tested.

Arduino code uses a library from a library https://github.com/jurriaan/Arduino-PowerFunctions with small modifications.

The code can control up to four channels. The LEGO RC protocol used is ‘Combo PWM mode’. The timeout needed is handled by the scratch Adapter, resending commands each 0.3 sec.

With a mobile camera, it is possible to make the IR LED light visible. The sensors used in camera have a broad sensitivity area and record IR light too.

ir_led

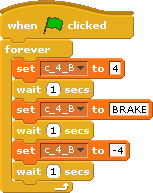
In scratch are a few variables needed like c_4_A or c_4_B for the channel 4 ‘red’ or ‘blue’ signals. Values are -7 to +7 for backward max speed to forward max speed;, as a special value ‘BREAK’ can be used.

Adjust USB connection in config file config/config_arduino_powerfunctions.xml

Start scratchClient with

cd ~/scratchClient
python src/scratchClient.py -c config/config_arduino_powerfunctions.xml

powerfunctions_script

When variables are available, a sample script is quite easy. This script was used to record the video.

Revisions:
2016-03-27 updated fritzing chart: LED connection now GND to PIN12 with resistor.
raspberry pi scratch 1.4 sound recording

Scratch 1.4 can record sound. But unfortunately the setup is not simple.

The comments here are based on raspbian 2016-02-26 and scratch 2016-01-15.

Recording sound in scratch 1.4

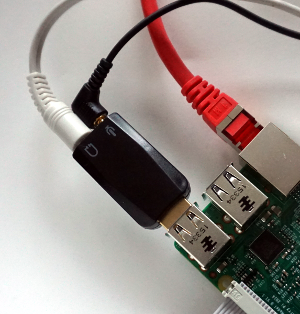
I connected a simple USB sound card. This card is connected to a microphone and a pair of speakers. The reason to use a card like this is especially the mic-input. Raspberry pi does not have an input on board.

sound_device

Doublecheck that your adapter is recognized from operating system. Open a terminal window ad enter ‘lsusb’. The output should show your sound device, here the output from my system:

pi@raspberrypi:~ $ lsusb
Bus 001 Device 009: ID 0d8c:013c C-Media Electronics, Inc. CM108 Audio Controller

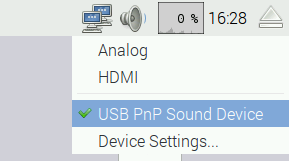
On desktop, the proper audio device needs to be selected.

device_selection

I had to reboot the computer to get the changes working. The ‘unable to connect…’-popup clearly indicates that there are errors.

device_not_found

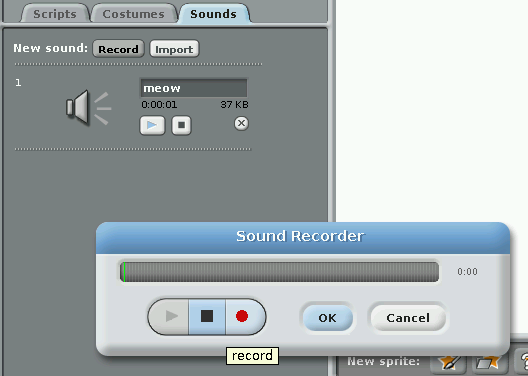
In scratch, check the audio output first. Let the cat ‘meow’ a few times.

record_start

Start recording with ‘New sound, record’. The sound recorder popup should be displayed. The red button starts recording.

sound_volume

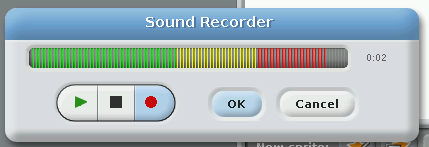
There is a nice volume indication shown in the bar.

Press stop ■ and ok. The recording is available now.

Unfortunately, the sound was played double the speed, faster and higher than recorded. Seems to be a bug in scratch. Exporting the audio file to file system and importing this back results in normal playback.

There is no possibility to control recording by program code.

Advanced commands for command line

On my system, it was possible to record sound from mic by

arecord -D plughw:1,0 test.wav

With aplay it is possible to reply these data

 aplay -D plughw:1,0 test.wav

Recording sound and playback sound with scratchClient

Recording sound is possible with scratchClient controlled by scratch runtime.
This functionality is implemented by calling linux commands ‘arecord’ and ‘aplay’.

The adapter needed is ‘adapter.linux.Linux_ARECORD_Adapter’. It stores the files in a predefined directory. It uses the linux arecord command. You need to be familiar with alsa devices; this device needs to be specified.

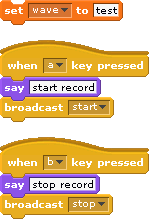
Sample script is

linux_arecord

Set the file name, then start recording and stop as needed. There is a timeout specified in the adapter config.

Sample config file is config/config_linux_arecord.xml

Playback can be done by adapter adapter.linux.Linux_APLAY_Adapter. Sample script is

linux_aplay

Replay one file in a loop needs to set the file name ‘wave’ to blank in between, as only changing names are transmitted to scratchClient.

Sample config file is config/config_linux_aplay.xml

The files recorded or available for playback are NOT included in the scratch code. So when you move your scratch application to another computer, you need to move your files too.

Use same directory for record and playback, when a scratch program needs play earlier recorded sound.


scratch broadcast event handling

scratch 1.4 is sometimes good for a surprise. In school, a program of a pupil reacted unexpected: Obviously the event driven script did not complete operation, but was stopped by a second event.

A detailed analysis lead to this test code, demonstrating the behavior of event triggered code.

One of the observations are that scratch event handling is not multithreaded, but a new event stops current processing and restarts script.

scratch_boadcast_even_handlingThe sample here uses a simple script, triggered by ‘tick’ event. On entry, a variable ‘a’ is incremented, on exit of the script the variable is decremented. When the script is executed from start to end, then the variable will have same value at the end as at the beginning.


Triggering this script with a ‘slow’ loop (use ‘s’ key), uses a loop with two sec delay. In this scenario, the variable keeps the value.

Using the ‘fast’ loop (use ‘f’-key), the script receives a new tick event when just in the middle of operation. Obviously the script gets interrupted and restarts from beginning. This is clearly visible, as the variable gets incremented.


The ‘c’ key resets the logic.


The full scratch code 1.4 code is here for download broadcast_event_handling.sb.