LEGO has a nice set of controls named ‘powerfunctions’. The main device is a IR-receiver which can control motors, LED with a variety of functions. ON,OFF, PWM are available.
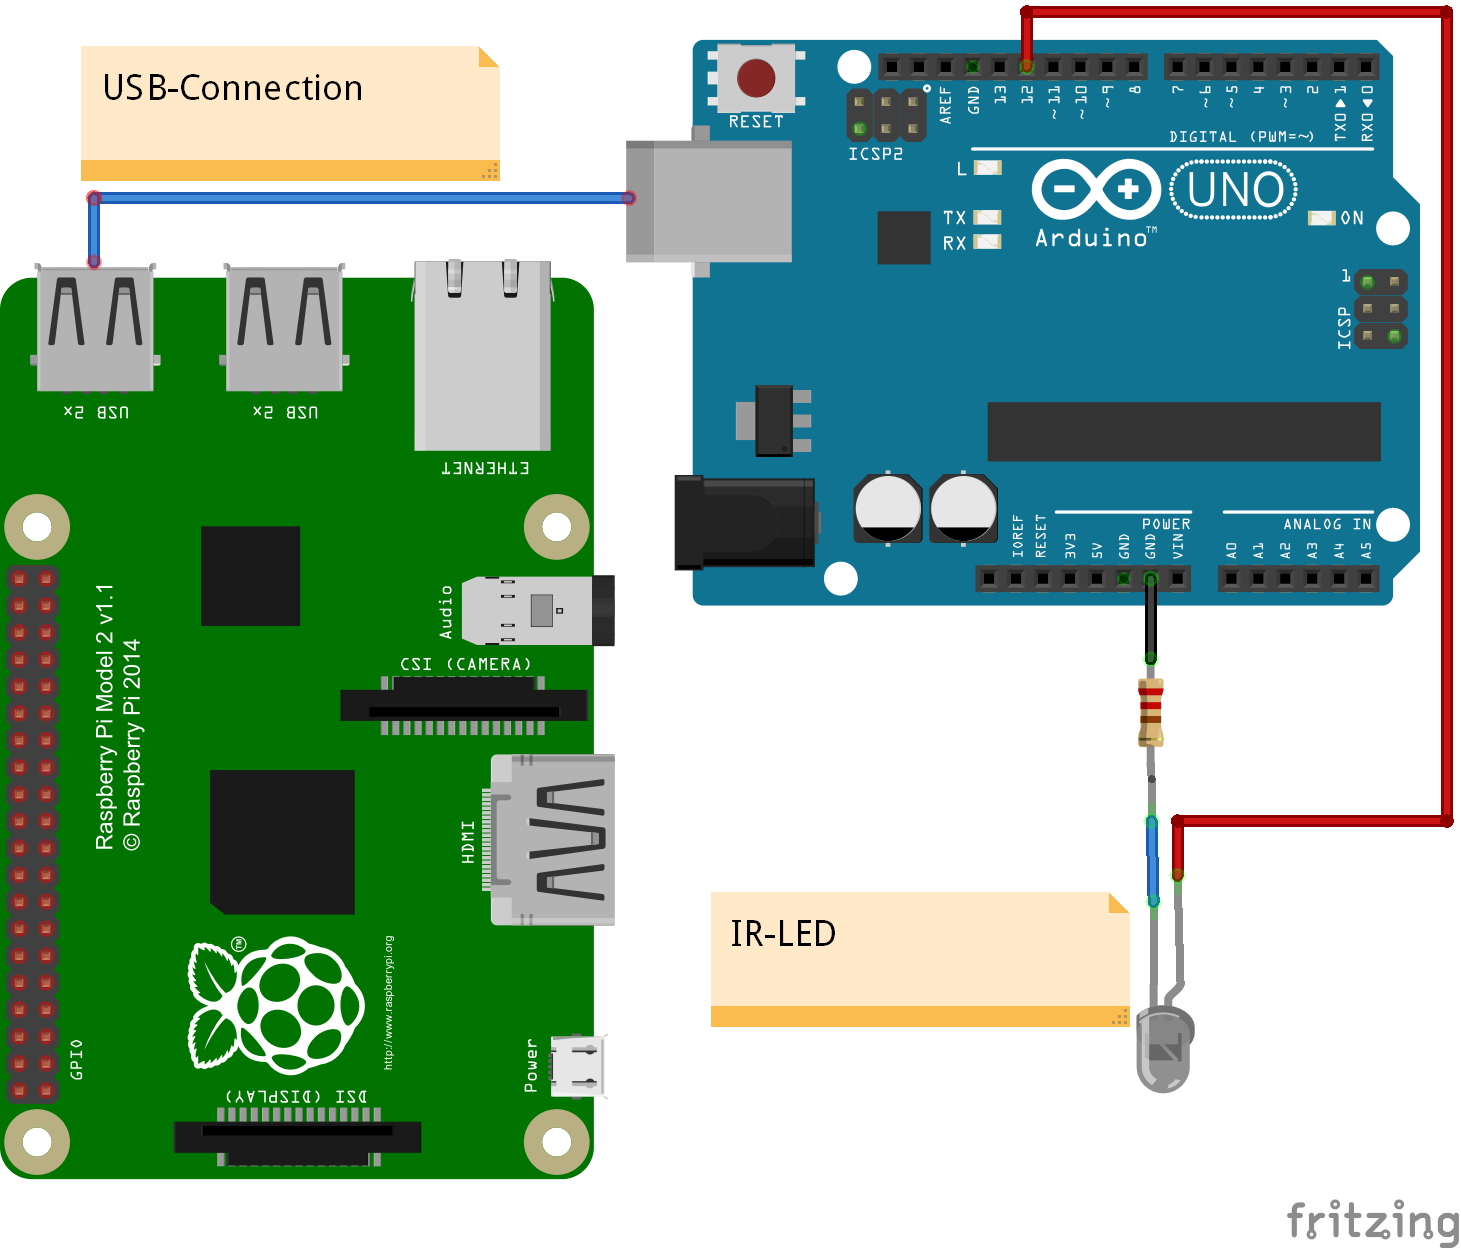
To connect this to scratch I use an arduino to control the IR-LED. Arduino is connected by USB to raspberry pi.
The LED is connected to the arduino UNO on a breadboard. I had one from an earlier experiment already mounted to a small board. When arduino outputs are used, current for the LED is limited to 20mA. With an external transistor, current and thus the range can be increased. With my setup range was prox one to two meter.
The setup shown uses an arduino UNO. It is also possible to use an arduino NANO instead. Other arduino boards like mega,zero due should be possible, but not tested.
Arduino code uses a library from a library https://github.com/jurriaan/Arduino-PowerFunctions with small modifications.
The code can control up to four channels. The LEGO RC protocol used is ‘Combo PWM mode’. The timeout needed is handled by the scratch Adapter, resending commands each 0.3 sec.
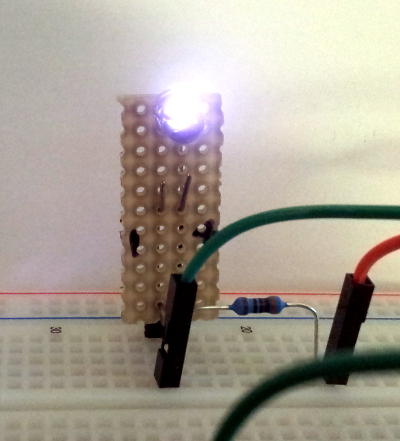
With a mobile camera, it is possible to make the IR LED light visible. The sensors used in camera have a broad sensitivity area and record IR light too.
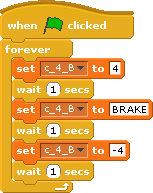
In scratch are a few variables needed like c_4_A or c_4_B for the channel 4 ‘red’ or ‘blue’ signals. Values are -7 to +7 for backward max speed to forward max speed;, as a special value ‘BREAK’ can be used.
Adjust USB connection in config file config/config_arduino_powerfunctions.xml
Start scratchClient with
cd ~/scratchClient
python src/scratchClient.py -c config/config_arduino_powerfunctions.xml
When variables are available, a sample script is quite easy. This script was used to record the video.
Revisions:
2016-03-27 updated fritzing chart: LED connection now GND to PIN12 with resistor.


